¶ Custom Skins in Blender - Starting Guide
This guide will help you start making custom skins on Blender, having the tools needed, how to use them, and quick videos to explain every single one of these steps
¶ Tools Needed
- Blender Redirect to Download Page
- Obsidian Redirect to our Download and Guide page
- lol2gltf Redirect to Download Page | Make sure you download both, the .exe and CLI.exe!
- Paint NET Redirect to Download Page
¶ Tool Installation
¶ lol2gltf
- Create a folder called "lol2gltf"
- Copy both "lol2gltf.zip" and "lol2gltf.CLI.zip" into the folder
- lol2gltf is now ready to be used by clicking "lol2gltf.exe"
¶ Extracting 3d model to edit in Blender (Video Tutorial)
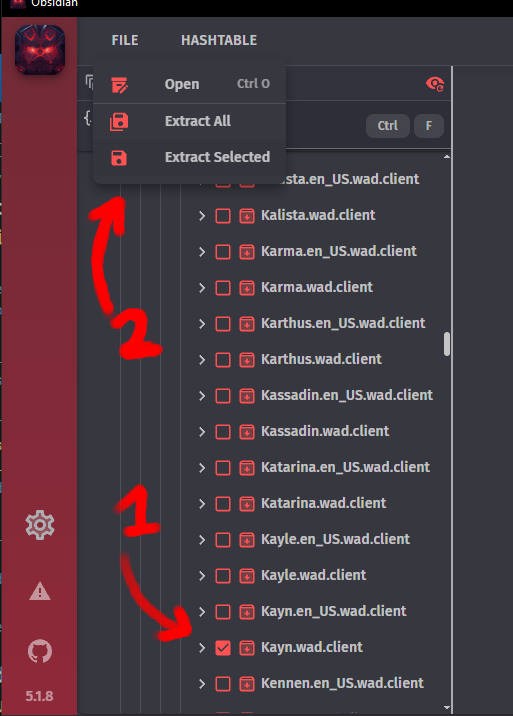
- Open Obsidian
- Search the champion you want the 3d model (in Game/DATA/FINAL/Champions. an example of a champion is Kayn.wad.client)
- Click the checkmark of said champion then go to "File" and "Extract Selected". Make sure you extract it on an empty folder(create a "Kayn" folder for example)
- Close Obsidian, and open "lol2gltf"
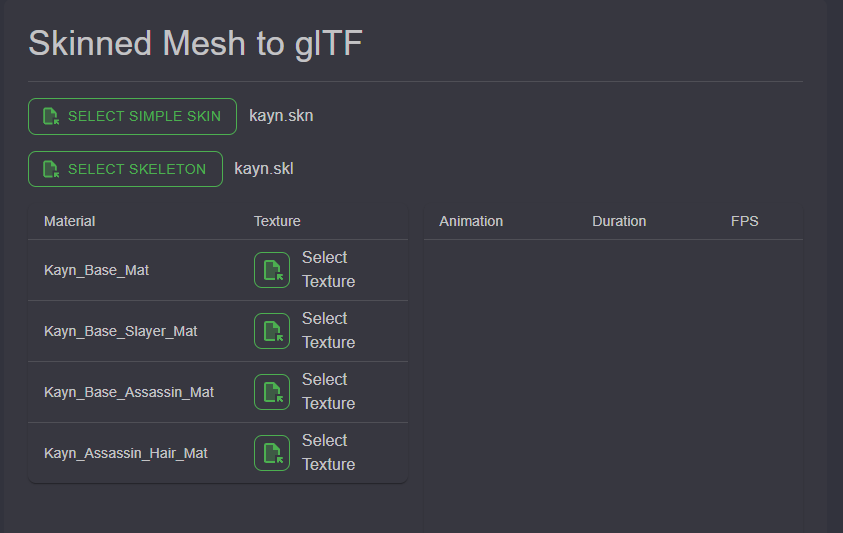
- Resize the window as needed then click on "Select Simple Skin"
- The simple skin should be located on "FOLDER/Kayn/assets/character/kayn/skin/base" for the base skin, while the other skins are numbered depending on the number of skins of the champion
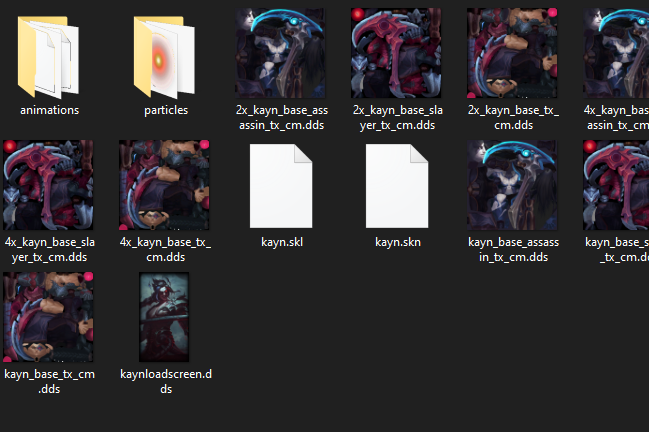
- Select the .skn
- Click on "Select Skeleton" and select the .skl
- After that, you need to select the textures for the champion. Most of them have only one, but you can encounter ones with more than 1 Material like Udyr or Kayn. Make sure to select the correct ones as most are pretty self explanatory ("Kayn_Base_Assasin" is the assasin form for example, and all the textures regarding it come from the same image)
- Scroll down in lol2gltf and click the "GLTF" button
- Save the glb file wherever you want
- Open "Blender"
- Go to "File", "Import", "gltf2.0"
- MAKE SURE YOU CHANGE BONE DIR TO "Blender"
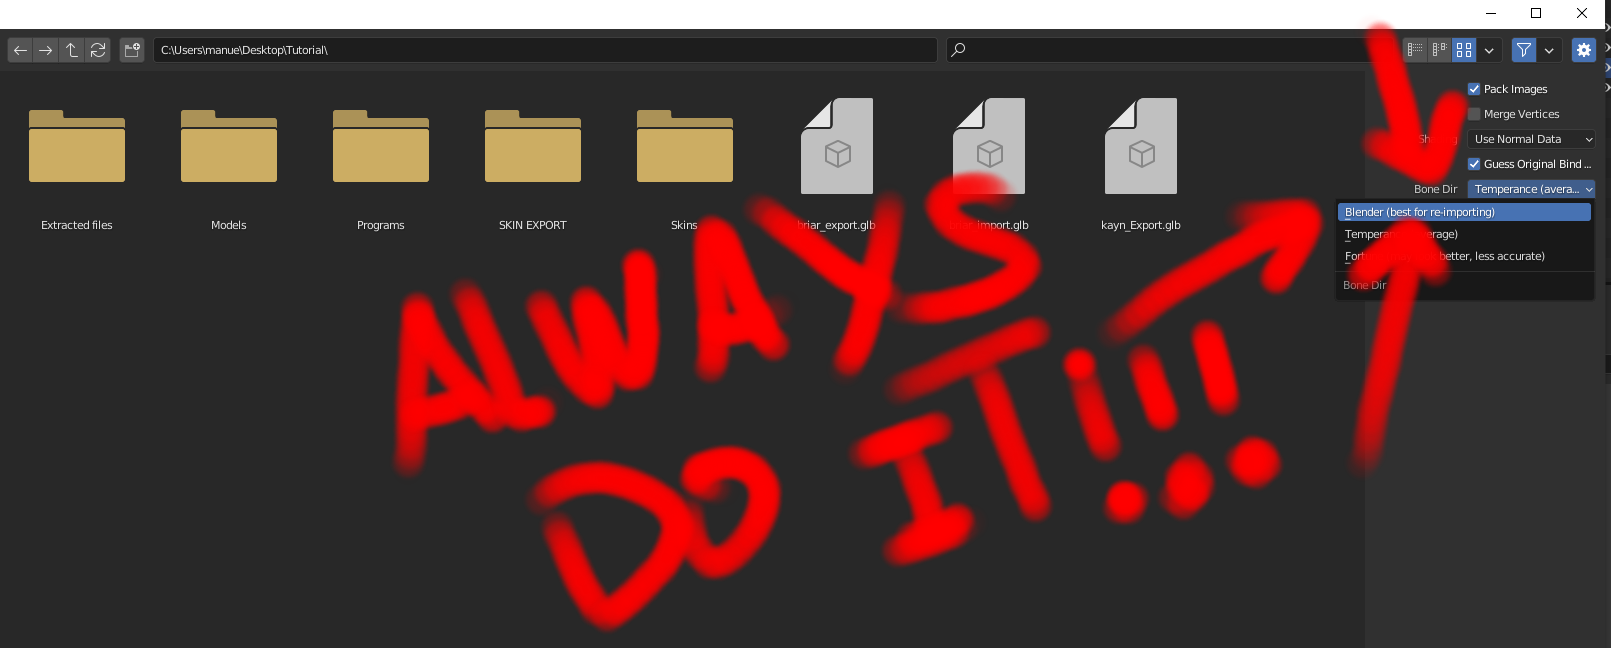
- Select your file
- You should be able to see the model imported into blender
- If the model has various materials interlapping eachother, you can hide them by changing them to "Alpha Clip" (see video for example)
¶ Import Model back to League (Video Tutorial)
- Save the 3D Model in Blender as a GLTF 2.0 file
- Modify the following command to fit your files
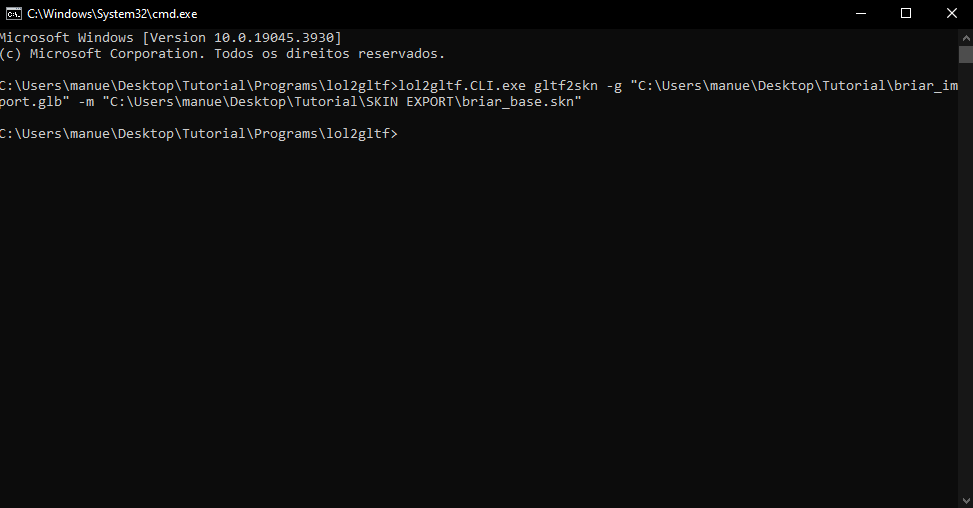
lol2gltf.CLI.exe gltf2skn -g "skin exported from blender" -m "league of legends .skn file"
For my example, the command would be
lol2gltf.CLI.exe gltf2skn -g "C:\Users\manue\Desktop\Nova pasta\briar_import.glb" -m "C:\Users\manue\Desktop\Nova pasta\SKIN EXPORT\briar_base.skn" - Go to the "lol2gltf" folder
- Click on the search bar, and type "cmd" as shown below
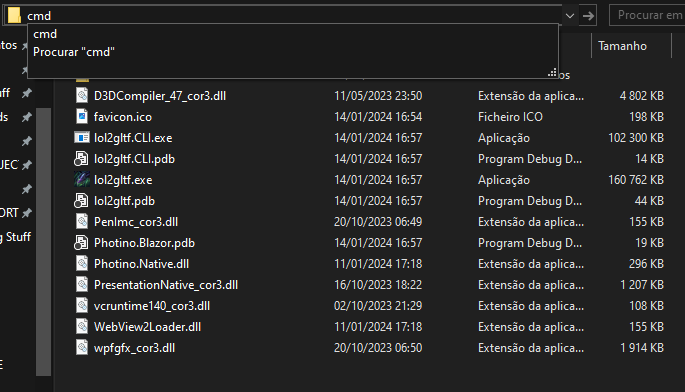
- A command box should appear
- Paste the command from before
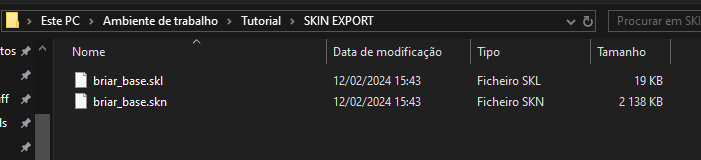
- If it worked, it created a .skn and .skl file on the export location you provided
¶ If it didnt work, check the following
- Make sure all the meshes are joined
- Make sure the command is correct
- Ask for help on Runeforge's Discord
- You can replace the skn and skl files inside "assets/character/briar/skin/base"
- Import the skin using cslol or equivalent(check video)