¶ Making Custom Cursos
¶ Tools
You will need one of the following tools to save your custom cursors.
¶ Free
¶ Paid
¶ Extracting and opening League's pointers
Firstly you want to extract all the pointers using Obsidian.
The cursors are located under UI.wad.client/assets/ux/cursors. Select and extract the cursors folder.
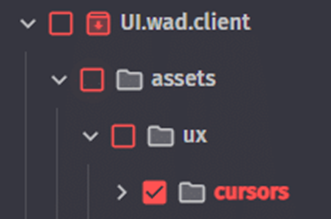
Once you have extracted the cursors folder navigate to the location where you extracted it and you will see all the pointers League uses which includes legacy and the new ones.
You can delete the pointers you don’t need. Ones that have a small mouse icon and “newplayer” in their name are only seen in the tutorial, delete them.
You can also delete legacy or the new pointers, depending on which ones you want to edit. In this guide the new cursors will be edited.

Prepare the pointers. See what pointers you have left in the cursors folder and prepare your own.
Legacy pointers vary in dimensions being 32×32, 48×48 (mostly) and 52×52.
New pointers are all 64 pixels by 64 pixels.
¶ Replacing Pointers
¶ paint.net
Open what pointers you want to edit one by one by simply dragging them onto paint.net and pressing Open.
Press CTRL+SHIFT+V to paste your image as a new layer on the original pointer, or you can draw on it.
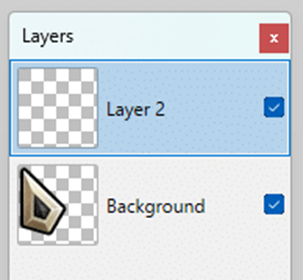
After you’ve added your cursor on top as a new layer and positioned it right you can look over to the bottom right to the layers tab and uncheck the background layer.
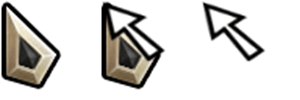
Process for other pointers is the same, the paint bucket tool is used to recolor the pointers accordingly.
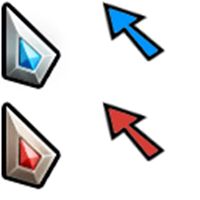
After you finished editing the cursors you want head over to each one and save them like this.
Press CTRL+SHIFT+S to save as. paint.net will automatically take you to the origin folder of the image. In the dropdown with the file extensions select TGA (*.tga).
Press Save and you will be prompted to replace the old file, click Yes.
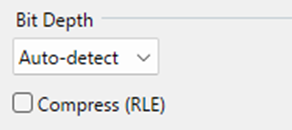
Do not touch the Bit Depth setting. You can uncheck the Compress (RLE) setting if you feel like it will make a difference which will make your file around 13 Kilobytes larger. Press OK.
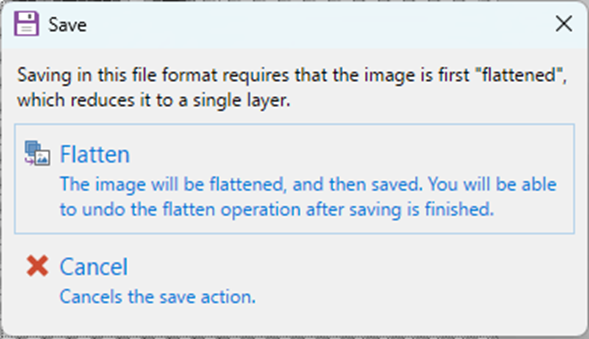
You will lastly be asked to flatten the image to 1 layer. Simply press Flatten and it will save. If you have anything unfinished after flattening you can always Undo.
¶ Adobe Photoshop
You do NOT need the .dds plugin for Adobe Photoshop if you wish to make custom cursors as they are saved in the .tga format.
TBD
¶ Testing the mod
Once you finished editing all the pointers you will need to put the assets folder inside a folder either named UI or UI.wad.client.

The final address of the folder should look like this:
UI.wad.client\assets\ux\cursors or UI\assets\ux\cursors.
Now simply create the mod in CsLoL. If you are unable to, refer to the Cslol guide.
Head over to the Practice Tool and check how your cursor looks. Enable target champions only, hover the shop, ping, hover allies, etc. Check if everything is in order.
If everything is alright, congrats on creating a cursor mod!
¶ Windows cursors
The pointers that the Windows Operating system uses are located under C:\Windows\Cursors. Using the .ico .cur and .ani paint.net plugin and .svg and .svgz plugin for paint.net you can open these pointers in paint.net without needing to convert any files.
¶ Useful Links and Resources
-
Open Cursor Library, there are many cursors for Windows here
-
The Spriters Resource, there are cursors from some games here
-
paint.net forum, you can find useful plugins for paint.net here